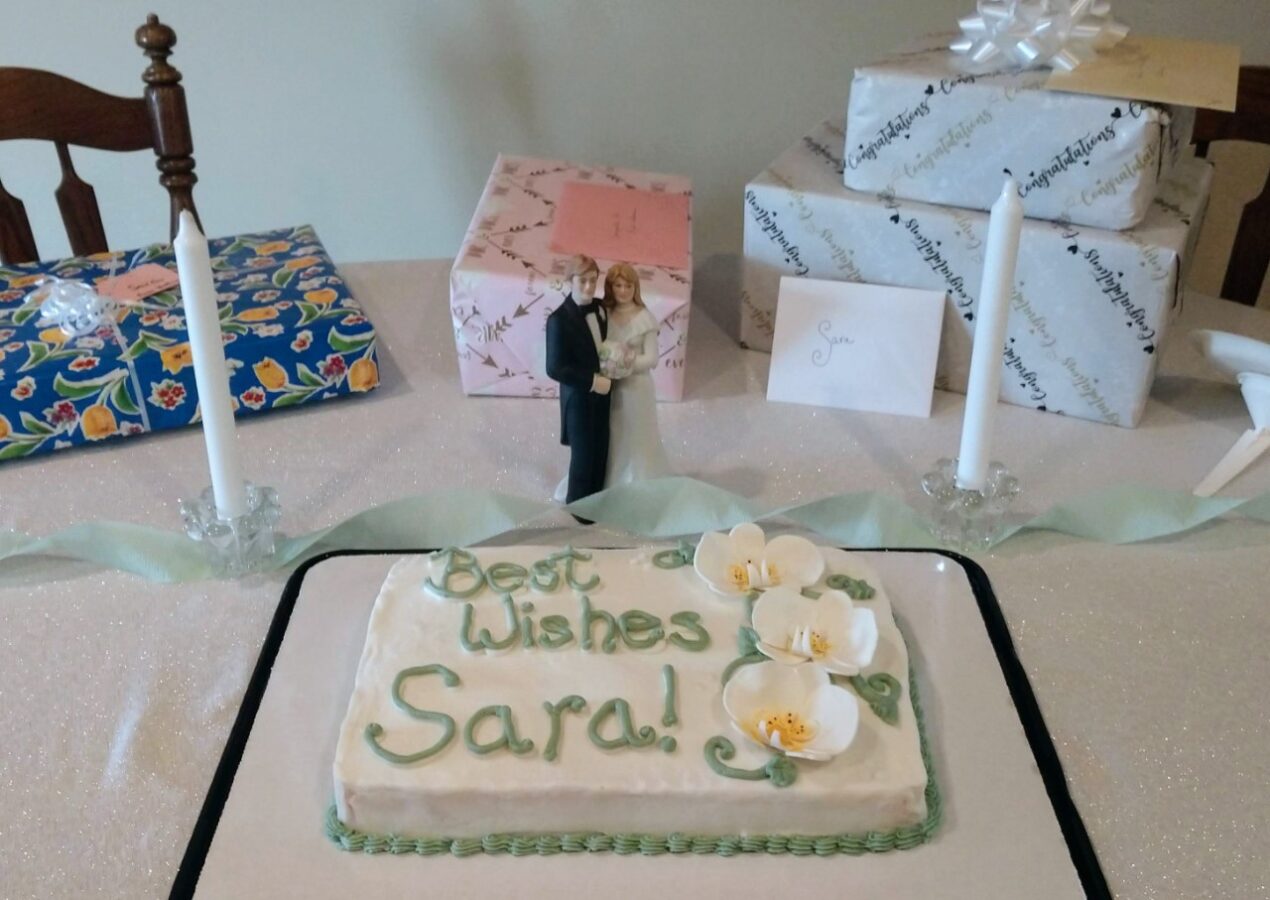
I was recently asked to make a wedding shower cake for a family party. My Aunt wanted something simple and traditional with the bridal colors featured. The bridesmaid dresses were going to be a light green color and the bride – light ivory dress. On this side of the family we have had many showers over the years and I wanted to be sure the cake I made was special but also honored the shower cakes that had come before. We decided on a quarter sheet lemon cake, which in the end turned out to be a favorite flavor of the bride, with simple buttercream frosting. The cake needed to be able to travel for almost two hours in my Mom’s car without incident so the decoration had to be able to hold up.
The Prep-work

I started with my favorite lemon cake recipe in a 9×13″ pan. We only needed to have enough cake for 20 so I did not fill the pan as full as I normally would to cut down on leftovers. A triple batch of buttercream would do the trick for this particular design, with two-thirds being white (with actual vanilla extract to add the slight ivory tinge) and one-third made into a light sea-foam green color to match the wedding colors. I also decided for the flowers to use some simple gum paste orchids I had made previously. To transport the cake, I purchased a half-sheet cake carrier and board from the local grocery store to make sure there was plenty of room if the cake shifted while we were driving.
Time to Decorate

With the cake completely cooled, I placed it on the board and put on a generous crumb coat. After letting this set for about 20 minutes, I added the top layer of frosting. I had a little trouble with the corners but wanted to be sure they were sharp so they looked good without decoration. Once this set for about 15 minutes, I used a small piece of parchment paper to smooth out any imperfections. If you are using a buttercream that sets well, you can also use a dry finger to smooth out any bigger issues. With the canvas prepared, I next used a small multi-point star tip to create a simple shell border. I like to use the smaller tips for this as the border will be more demure and lets the rest of the cake shine a bit more.

Then it was time to decide on the placement of the flowers in relation to the writing. If you are using gum paste or royal icing flowers and a buttercream that firms up, you can gently place them on the cake to get an idea of where you want things and then add a small mound of frosting to anchor your flowers. I wanted to add some very simple vines with leaves in the wedding colors connecting the three orchids and then added several sets of white dots to add some elegance.

Finally, I wanted to try a new writing technique I have seen gaining popularity. You start by writing your message in one color, in this case white, and then write in a second color, sea-foam, directly on top of the first. This creates a depth to the words and gives them a little extra something. I really liked how it turned out in the end, but will warn you, make sure you attach the top color well to the bottom layer of frosting, especially on curves and small sections. The top of the “B” fell off when I first added the second layer. After I scraped it off, I tried again making sure it was well attached to the bottom layer and it worked much better. You can do this by making sure to lightly push into the bottom layer every little bit as you pipe on the top layer, this helps to “glue” them together.
Best Wishes to the Bride

When we arrived at the shower everyone was impressed with the cake and thought it looked great. They liked the lemon flavor and several people were surprised to find their favorite flavor available. I was happy to see I had matched the decorations in the wedding colors well, but the best news was that the Bride was pleased. She took the leftover cake to a family event the next day with a huge smile on her face. What did you think of this design? Will you be using it for your next shower cake? Let me know in the comments below!


